Established in 1926, CARL has been designing cutting-edge products for use in the office, home, and school for almost a century. Their expertise in hole punches using press-steel plate technology started in 1949, when the use case was still unusual at the time. Today, CARL brand has been the go-to for many professionals and stationery enthusiasts when it comes to customizing and making refills for their organizers.
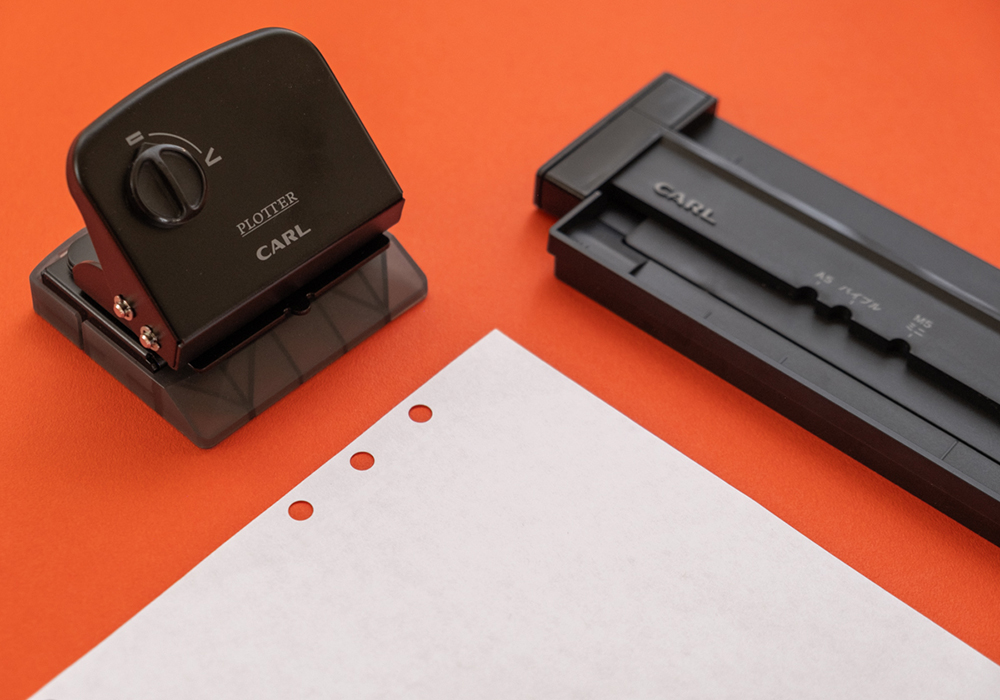
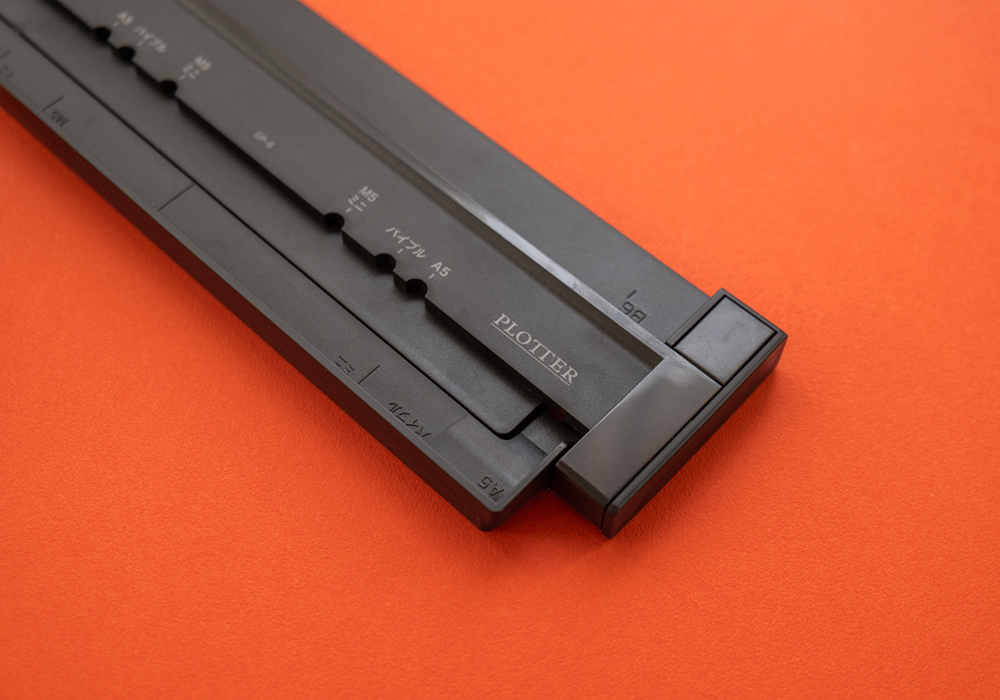
For a limited release, PLOTTER collaborates with CARL to create a special edition of its iconic Refill Maker Hole Punch for system organizers. The all-in-one handheld hole punch features two parts: a “punch” and a “gauge,” and can be used to punch holes to make refills applicable to all of PLOTTER’s leather binder sizes.
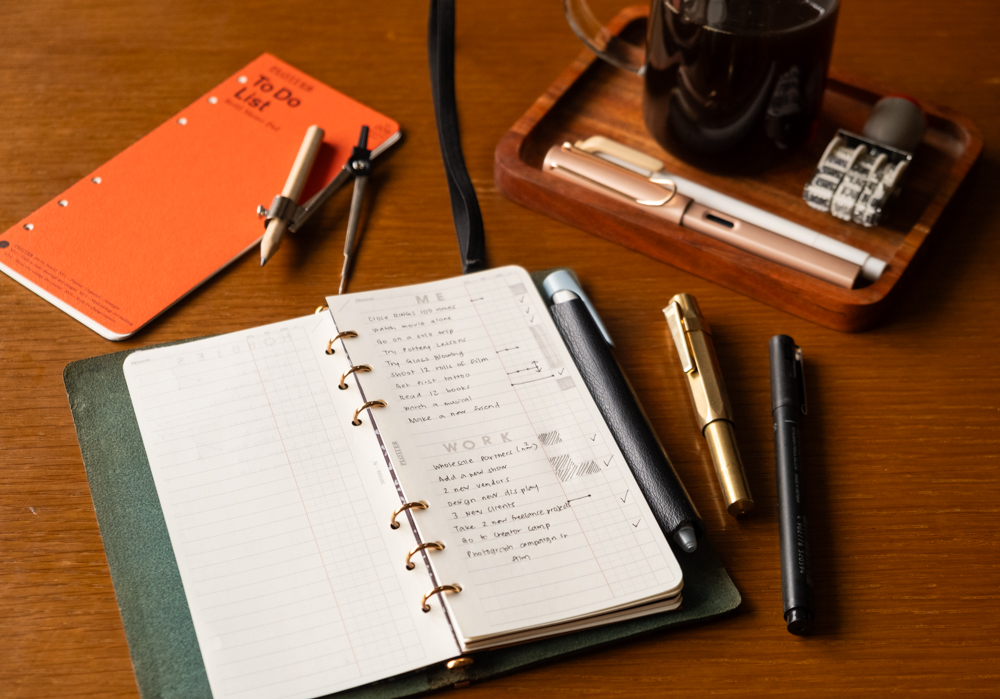
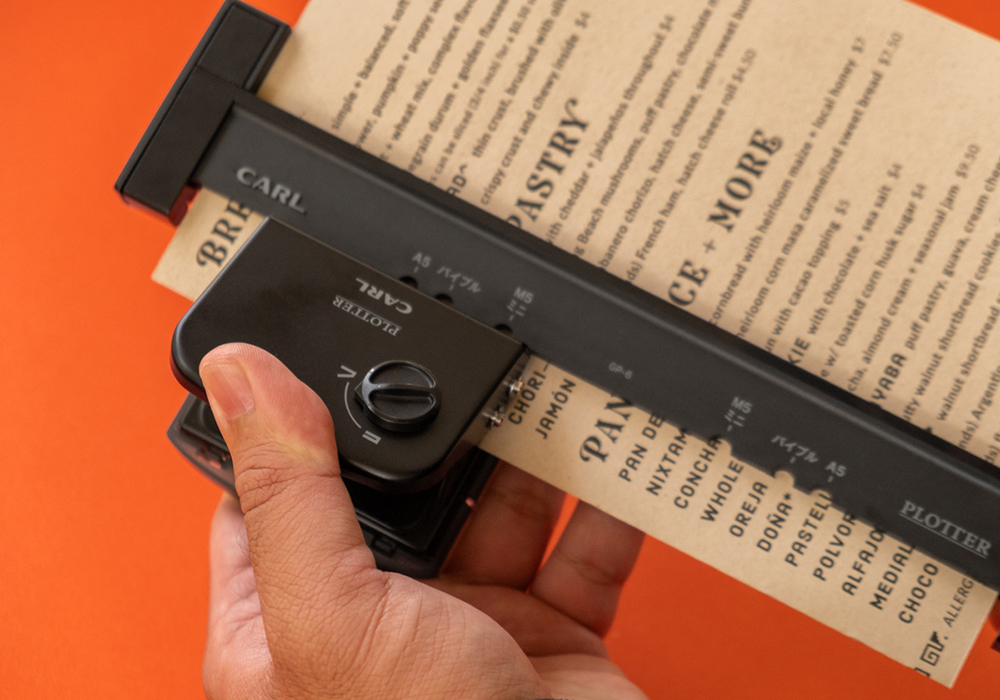
This tool is useful for PLOTTERs who wish to customize external documents or files such as invoices, receipts, flyers, or other paper material to keep together inside the PLOTTER 6-ring and 5-ring leather binders. You can also use the Refill Maker to punch holes in cardstock or postcards to turn them into dashboards for your PLOTTER.

The special edition hole punch is co-branded with PLOTTER’s logo. This is a limited release and will not be restocked once sold out.
PLOTTER X CARL Refill Maker Hole Punch – $50
How to use PLOTTER x CARL Refill Maker Hole Punch
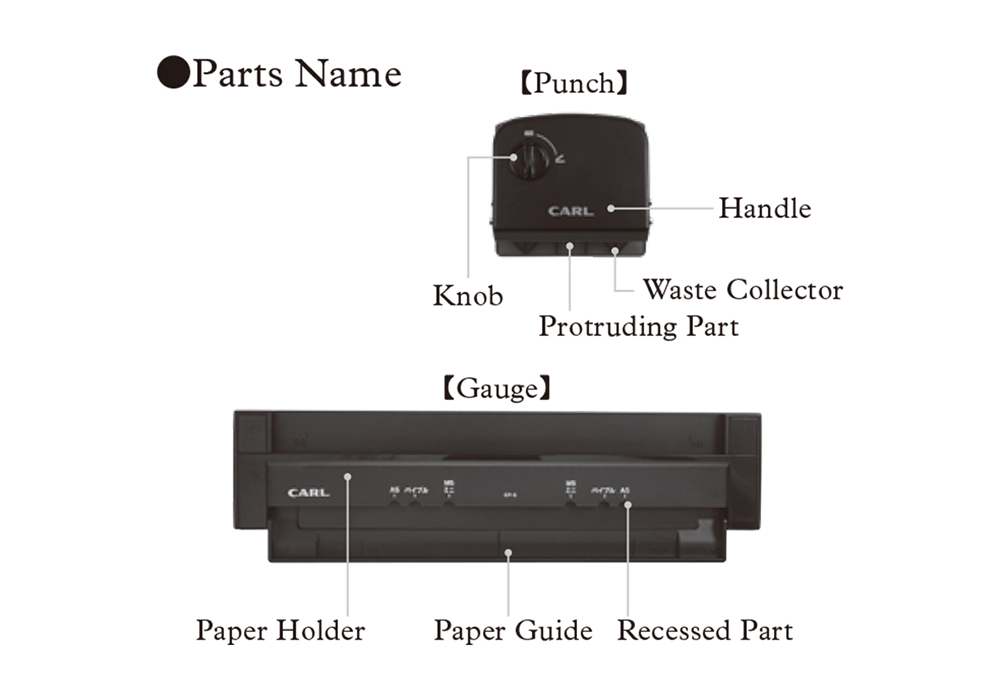
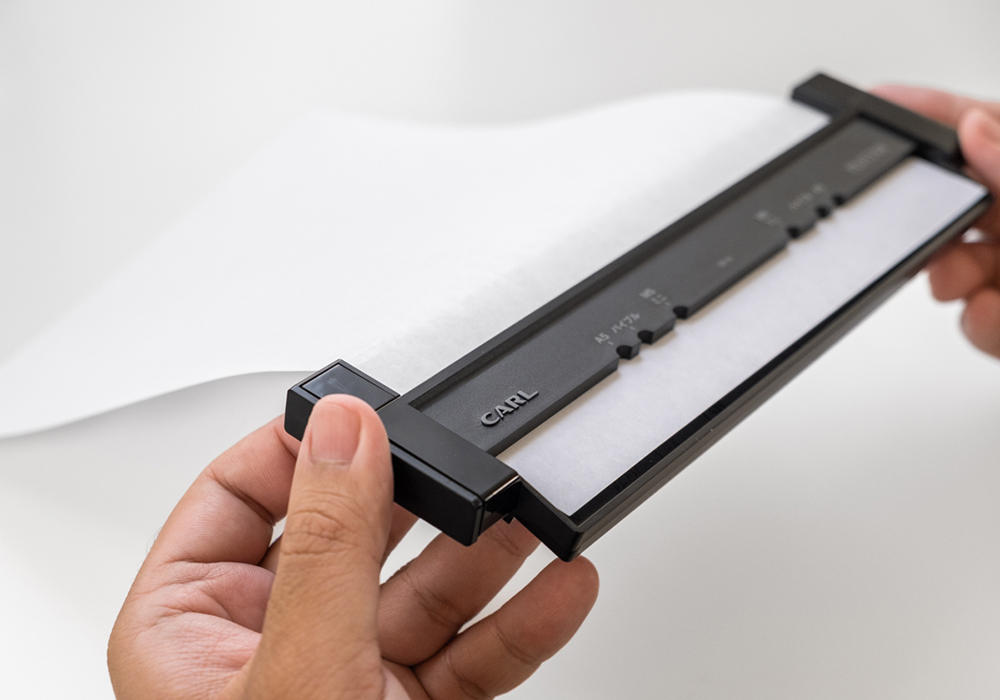
CARL Refill Maker Hole Punch is a useful handheld hole punch that allows you to punch holes into any paper simply by aligning the protruding part of the punch to the recessed part of the gauge section.
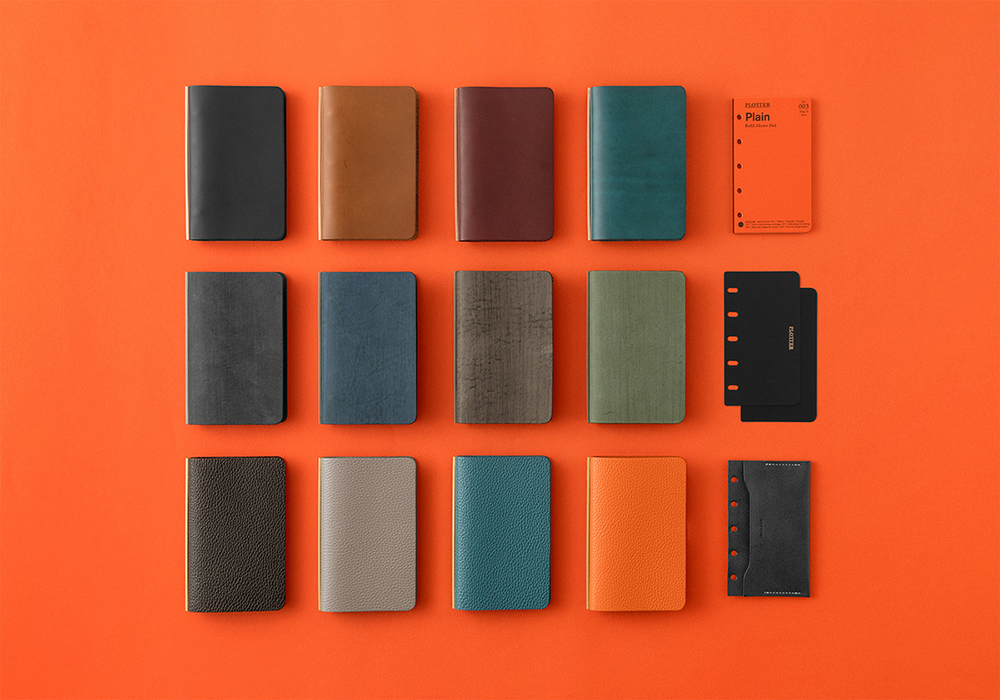
This hole punch can be used to create refill pages for PLOTTER’s A5, Bible, Narrow, Mini, and Mini 5 size leather binders.

Instructions
First, raise the paper holder on the gauge section. This is the section that allows you to feed the paper you want to punch holes in.
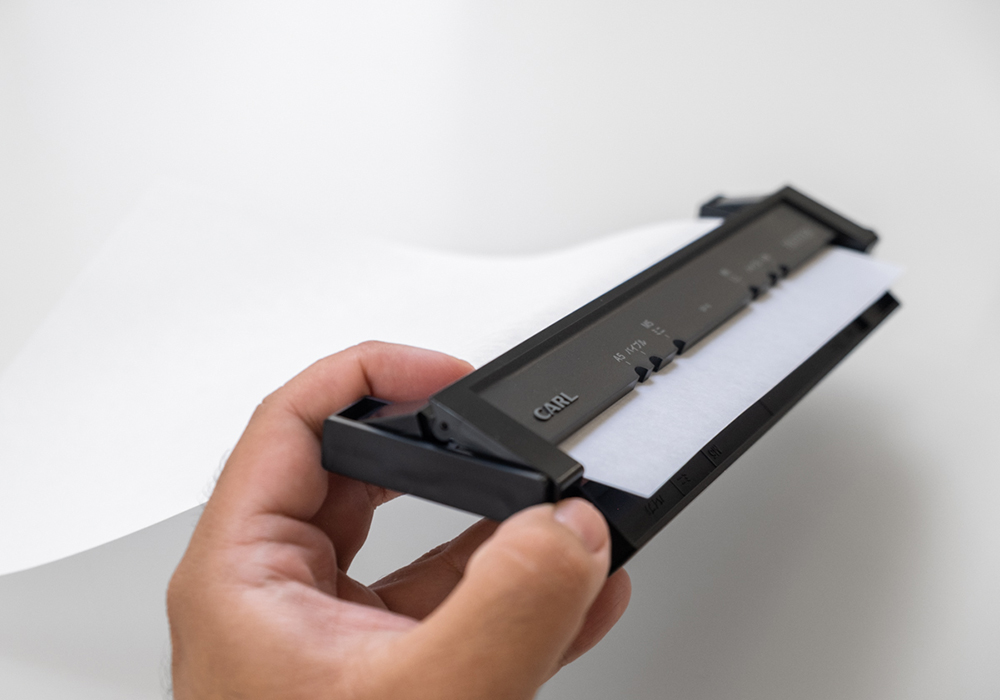
Secondly, insert the paper until the page is flush against the paper guide (please position the page according to the paper guide), then firmly press the paper holder back into place. We recommend inserting no more than 5 sheets of paper at a time.
Once the paper is inserted, fold the paper guide section on the gauge down and to the back until you hear a “click”. The paper will now be exposed and ready for you to insert the punch.

Finally, align the protruding part of the punch with the recessed part of the gauge’s paper holder based on your selected size, and then punch the holes. Repeat to complete the two sets of holes for your 6-hole or 5-hole refill.
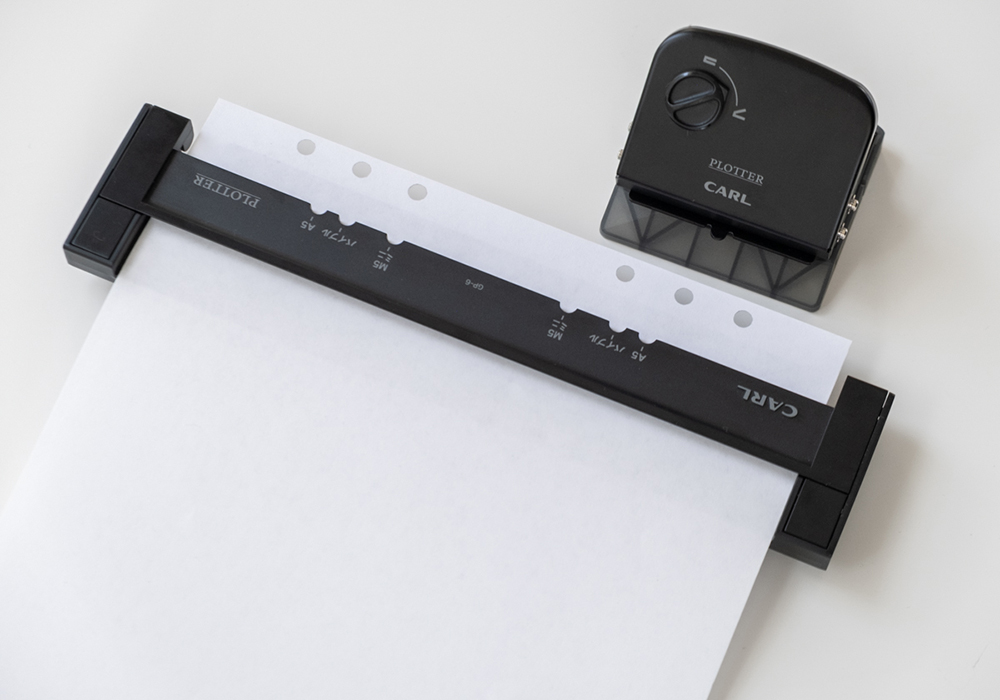
When not in use, you can turn the punch’s handle lock into a locked mode for storage.
Draw today, shape tomorrow.